一、Vue项目创建
1、安装node.js
#下载安装包:https://nodejs.org/en/
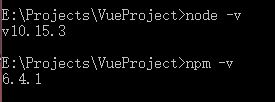
cmd输入node -v 和npm -v查看是否安装成功
2、Vue开发环境
#命令行下载淘宝镜像命令工具 cnpm
1 | npm install cnpm -g --registry=http://registry.npm.taobao.org |
#用 cnpm 命令全局安装vue-cli脚手架
1 | cnpm install --global vue-cli |
输入vue,出来vue的信息说明安装成功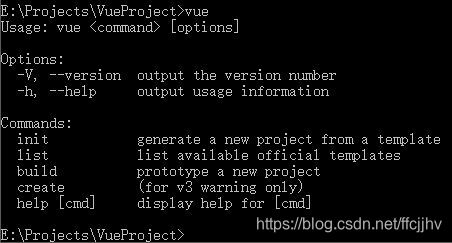
3、搭建Vue项目
(1)项目初始化
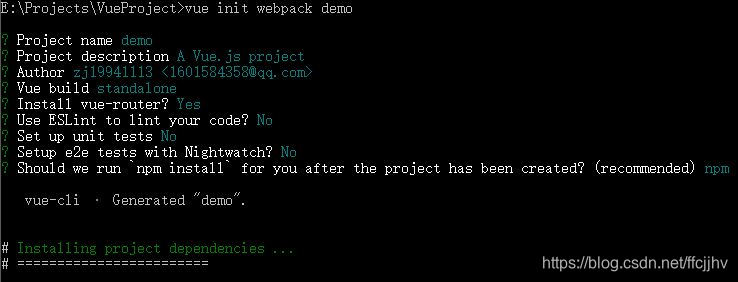
使用命令创建项目,一步步选择之后开始等等项目创建完成
1
vue init webpack app
(2)项目预览
1 | cd demo |
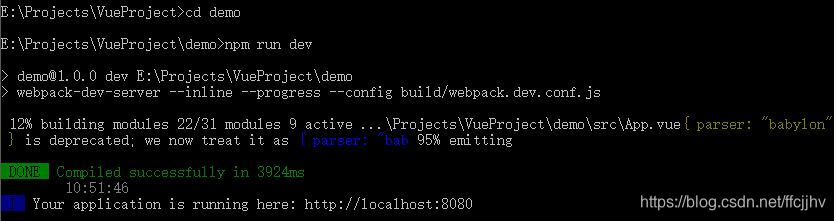
打开浏览器,复制粘贴命令行显示的地址( http://localhost:8080),跳出页面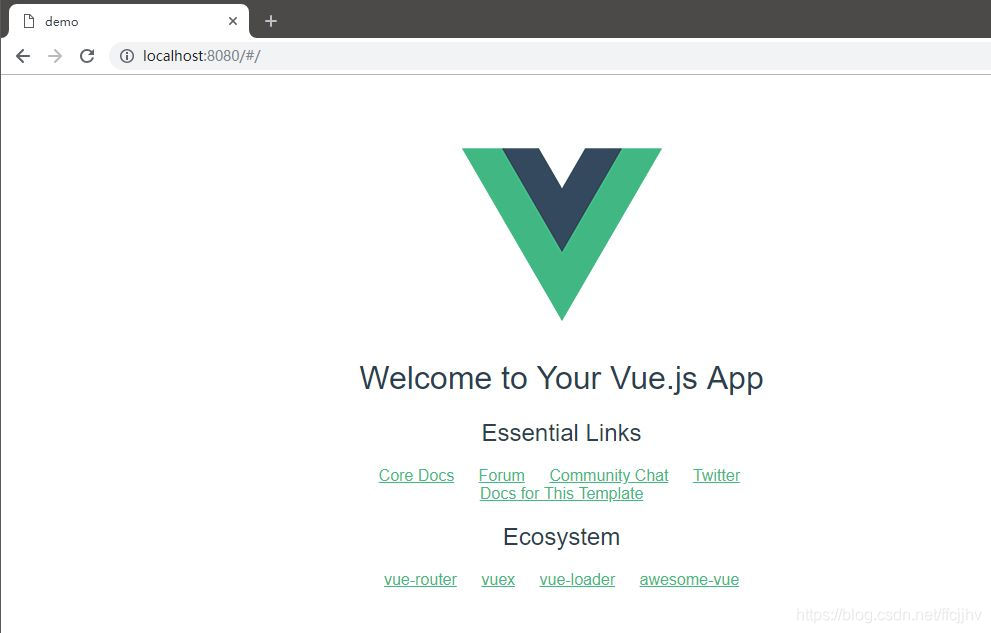
二、引入ivew+Echarts
1、ivew+Echarts安装
1 | cnpm install ivew -save |
1 | cnpm install echarts -save |
2、引入ivew+Echarts
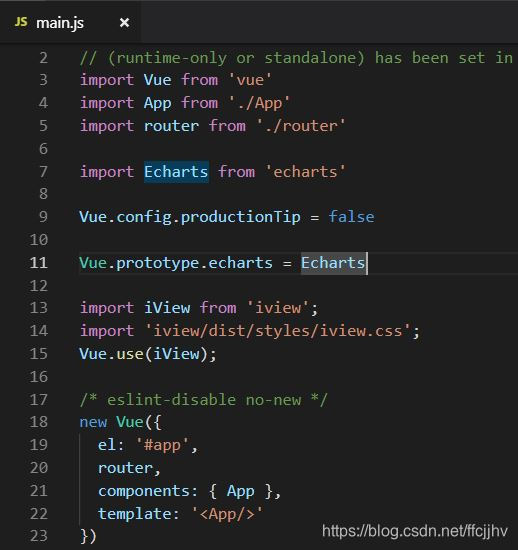
项目src/main.js中引入ivew+Echarts
1 | import iView from 'iview'; |
1 | import Echarts from 'echarts' |
3、Echarts组件
将src/components/HelloWorld修改为如下内容
1 | <style scoped> |
1 | npm run dev |
打开http://localhost:8080 ,显示页面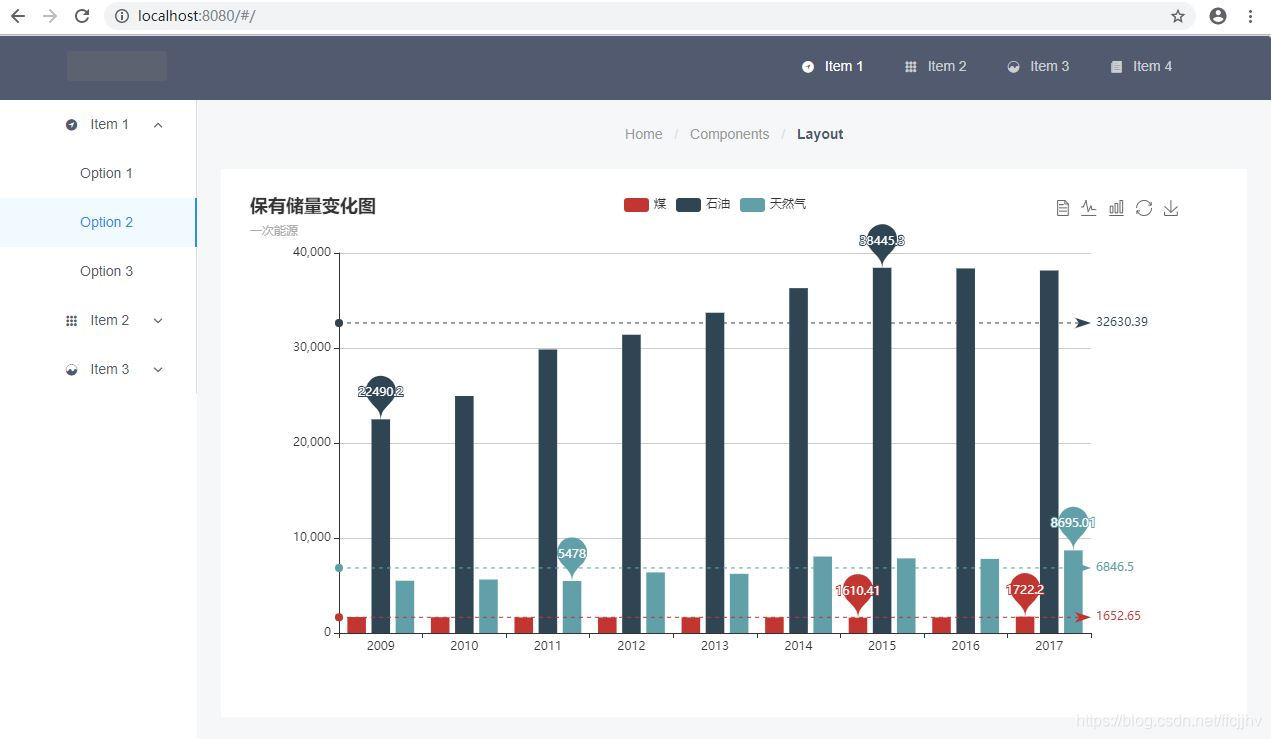
4、生成项目
执行生成命令
1 | npm run build |
出现如下效果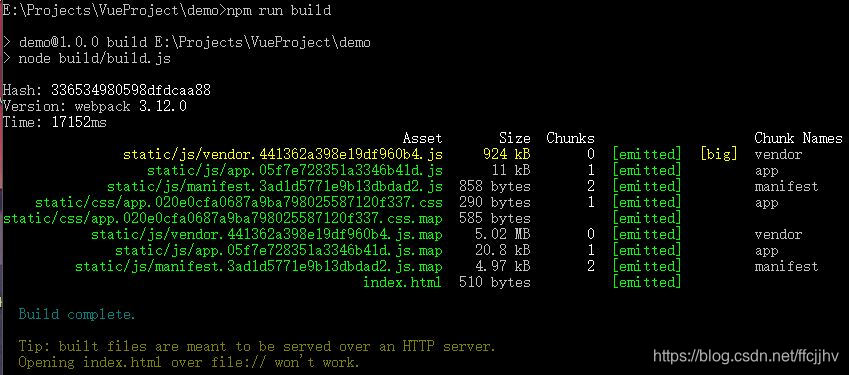
项目下回多出一个dist的文件夹,里面是打包好的东西,双击index.html显示网页内容则证明生成成功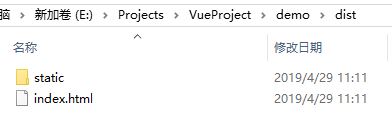
(1)打包页面显示空白
修改index.js 中的生成路径,第46行改为assetsPublicPath: './',,否则后面程序运行打包页面会显示空白,找不到路径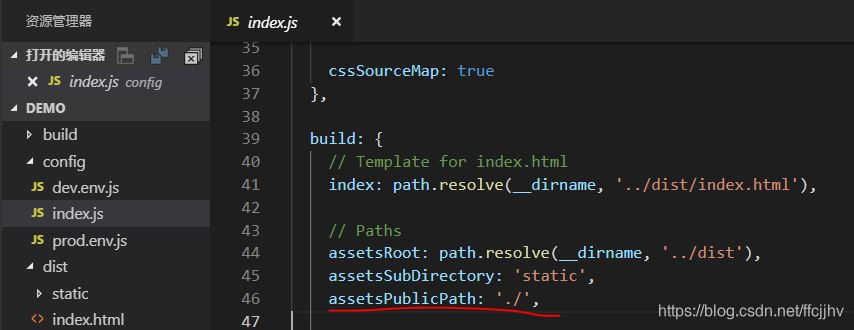
(2)页面部分空白,router-view内容无法显示
// mode: ‘history’,//将这个模式关闭就好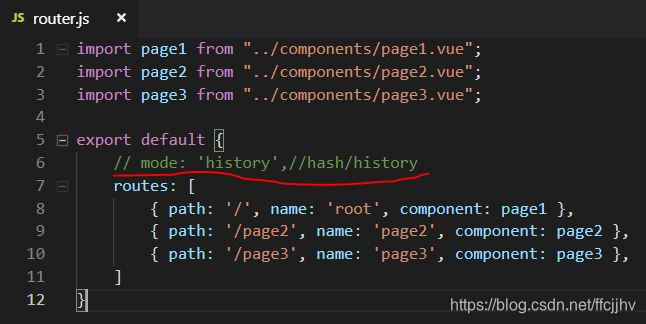
(3)iview 打包之后,图标无法显示
在 build/webpack.prod.conf.js 中,将extract改为false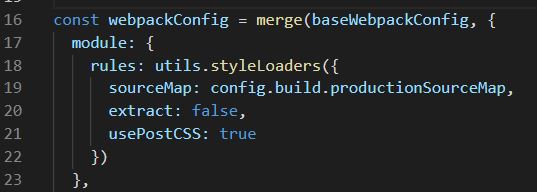
接下来一切操作都在dist文件夹目录下。
三、electron打包
1、安装 electron
用 cnpm 命令安装 electron
1 | cnpm install electron -g |
cmd输入electron -v查看是否安装成功
2、 package.json 和 main.js
在dist文件夹下,复制粘贴下面的 package.json 和 main.js文件,最终目录如图
在package.json中:
1 | { |
在main.js中
1 | const {app, BrowserWindow} = require('electron') |
运行
1 | electron . |
3、electron-packager打包
(1)全局安装electron-packager
1 | npm install electron-packager -g |
(2)运行打包命令
1 | electron-packager . demo --win --out outApp --arch=x64 --app-version 1.0.0 --electron-version 5.0.0 --overwrite --ignore=node_modules |

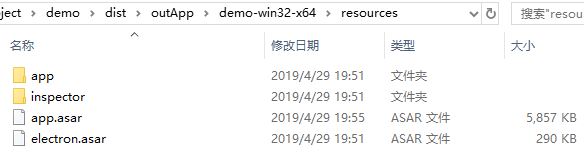
在dist\outApp\demo-win32-x64文件夹下生成可执行文件demo.exe,双击运行程序
嫌每次输入太长,可以将在package.json中添加
1 | "scripts": { |
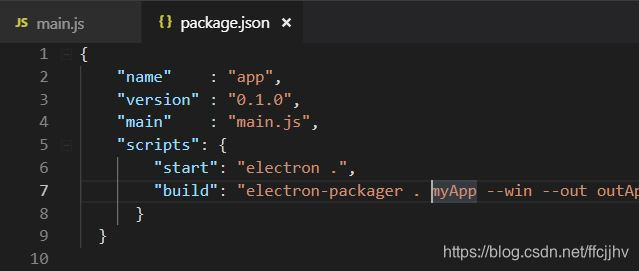
这样输入npm run start相当于执行了electron .,测试打包效果
输入npm run build相当于执行了打包命令,在dist\outApp\myApp-win32-x64文件夹下生成可执行文件myApp.exe
4、源码加密
在outApp\demo-win32-x64\resources\app里有写的源码。写的代码完全暴露在用户电脑上是非常不安全的,可以通过electron 自带的加密功能解决这个问题。
(1)全局安装 asar
1 | npm install asar -g |
(2)使用asar指令进行加密
在resources目录下使用asar指令进行加密
1 | asar pack ./app app.asar |
将原来的app文件夹删除,这样生成的app.asar就加密了之前的源代码
双击demo.exe重新运行程序